


Wall Replacement
Our crew came in and installed a wall replacement to combat this homeowner's crumbling foundation wall.
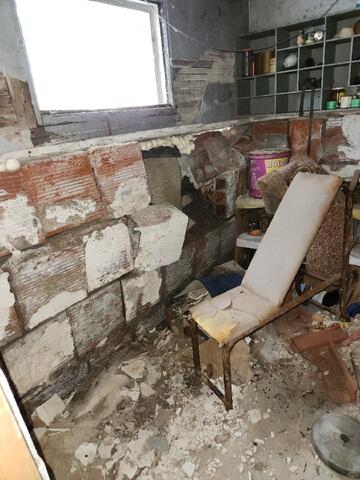
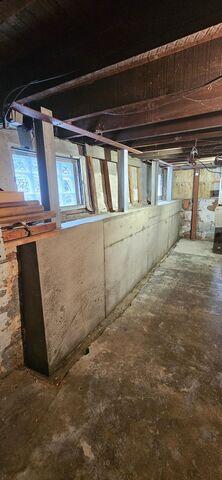
Before
Our Design Specialist, Russell, took a photo of this basement wall before our crew started replacing it.

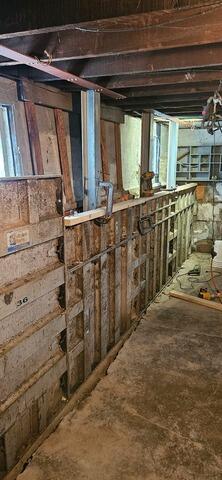
Stage 1
Our crew first installed i-beams and rebar to provide support and structure for the new wall.
Stage 2
After installing i-beams, our crew began the wall replacement process.
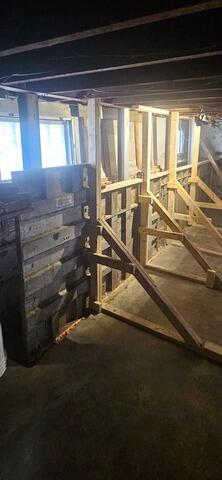
Stage 3
Once the new wall was starting to take shape, our crew supported the wall with wooden posts.
